Ornaments

| Knead your clay and roll it out about 1/4" thick. Try to keep the thickness even throughout. I worked with one block of clay but it would probably be easier to get two blocks of each color so you have more clay to work with. You can get anywhere from two to four ornaments out of each block depending on the ornament size. |  |
| Place your stamp on the rolled out clay and press really hard using both hands (My other hand is holding the camera). If you don't get a good impression simply ball up the clay and roll it out again and re-stamp. You can also use your rolling pin and roll it over the stamp which helps quite a bit. |  |
| Make sure you have a good impression throughout. |  |
| I just added this picture because it looks cool. :) |  |
| Use your cookie cutter to cut out your ornament. |  |
| It seems to be easier to remove the clay around the cut portion while leaving the cookie cutter in place. |  |
| Arrange your stamped and cut out ornaments on a baking sheet and bake according to the instructions on your clay package. If you aren't able to drill a hole into the baked ornament you would want to poke a hole at the top before you bake them.
A tip when working with multiple colors. Be sure to clean everything well before going to a new color. Clean the counter, the rolling pin, cookie cutters and your hands really well. Otherwise you will transfer bits of different colored clay into your next color. |
 |
| Place your ornament on an old block of wood and drill a small hole near the top. |  |
| Pull out your leafing system adhesive, foil and fixative. |  |
| Using a brush, brush on the adhesive according to the instructions on the bottle. Mine said to apply one coat and after it was transparent, apply another and then let it dry an hour. Don't worry about getting glue in the indented areas. |  |
| Apply the leafing foil shiny side up and press well all over with your fingers. |  |
| Ohhhhh....pretty! You can spray this now with some special fixative that you will find in the leafing system product line. |
 |
| Don't forget to sign the back! I used a metallic gel pen when I made a bunch of these for gifts back in 2000. These make great stocking stuffers or present decorations too. The heart I made in this tutorial would be perfect for Valentines Day as well. |  |
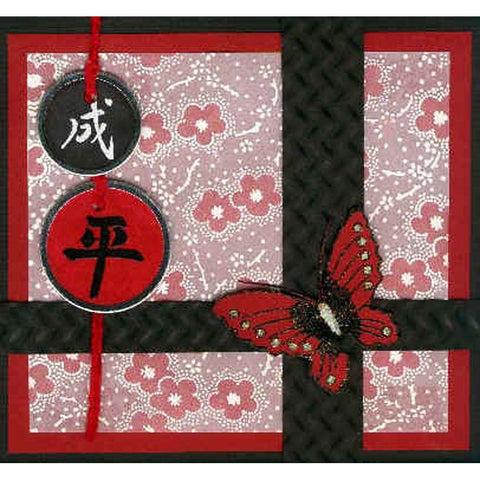
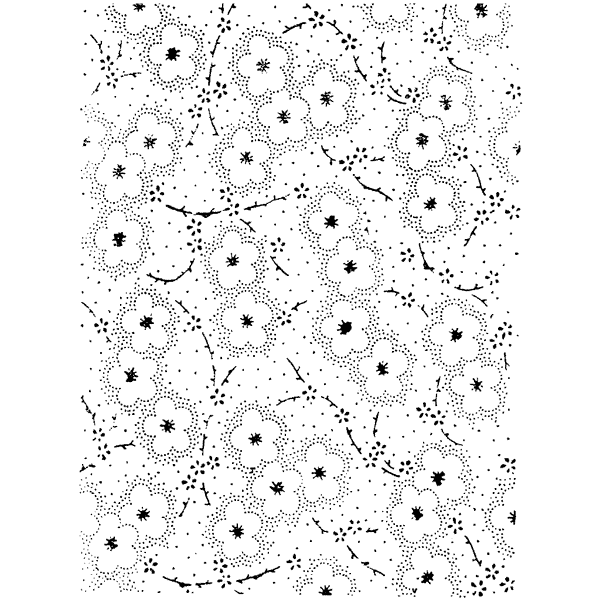
Asian Cherry 745R
$ 11.50
4 3/4" x 6 1/4"
- Unmounted: Rubber die only
- Cling Mount: Rubber die on cling foam cushion closely trimmed (block not provided)
- Wood Mount: Red rubber die with black foam cushion on a white maple wood mount.
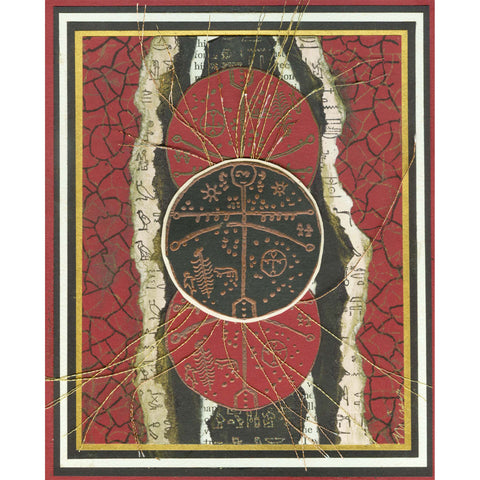
Click "View full product details" to see slideshow of artwork using this stamp.
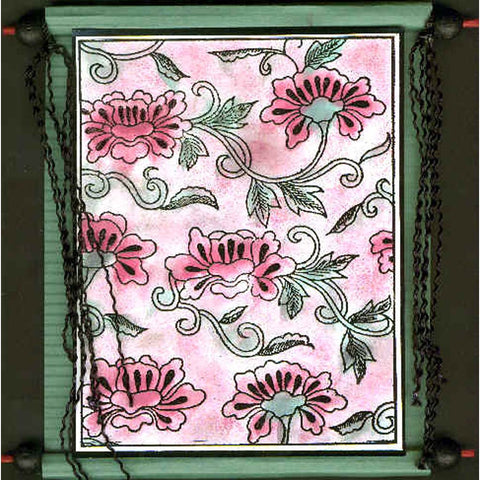
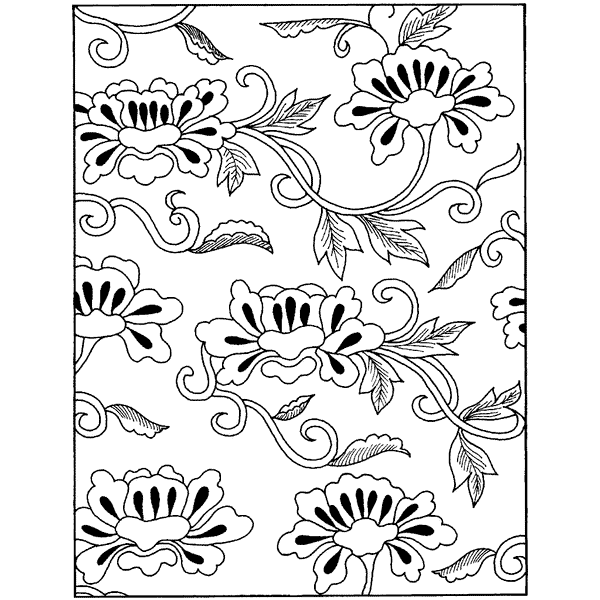
Asian Fower 682R
$ 11.50
4 1/2" x 6"
- Unmounted: Rubber die only
- Cling Mount: Rubber die on cling foam cushion closely trimmed (block not provided)
- Wood Mount: Red rubber die with black foam cushion on a white maple wood mount.
Click "View full product details" to see slideshow of artwork using this stamp.
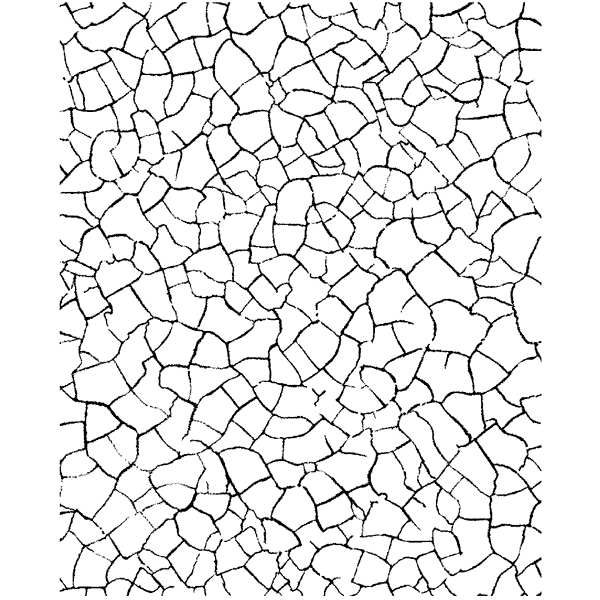
Cracked 685R
$ 11.50
4 1/2" x 5 3/4"
- Unmounted: Rubber die only
- Cling Mount: Rubber die on cling foam cushion closely trimmed (block not included)
- Wood Mount: Red rubber die with black foam cushion on a white maple wood mount
Click "View full product details" to see slideshow of artwork using this stamp.
